I’ve been wanting to roll my own sushi for longer than I can remember. For some reason I envisioned it being this ridiculously lengthy and involved process — something I needed to prepare thoroughly for: learn more about the culture, harvest my own seaweed, buy special tools…you know, all those other ignant things. So NOT the case.
(Now I’m wondering how many other wonderful things I’m missing out on for fear of the process…)
This afternoon I made it happen. Without a clue what to do beyond purchasing some nori and a sushi roller-majig, I stocked up on some veggies and found some prep steps online (I was going for healthful sushi, of course, so millet was my “rice” of choice).
I’ve gotta say — I surprised even myself! Not only was it easy (albeit rather involved), it was exceptionally fun.
Here’s how it ended up:

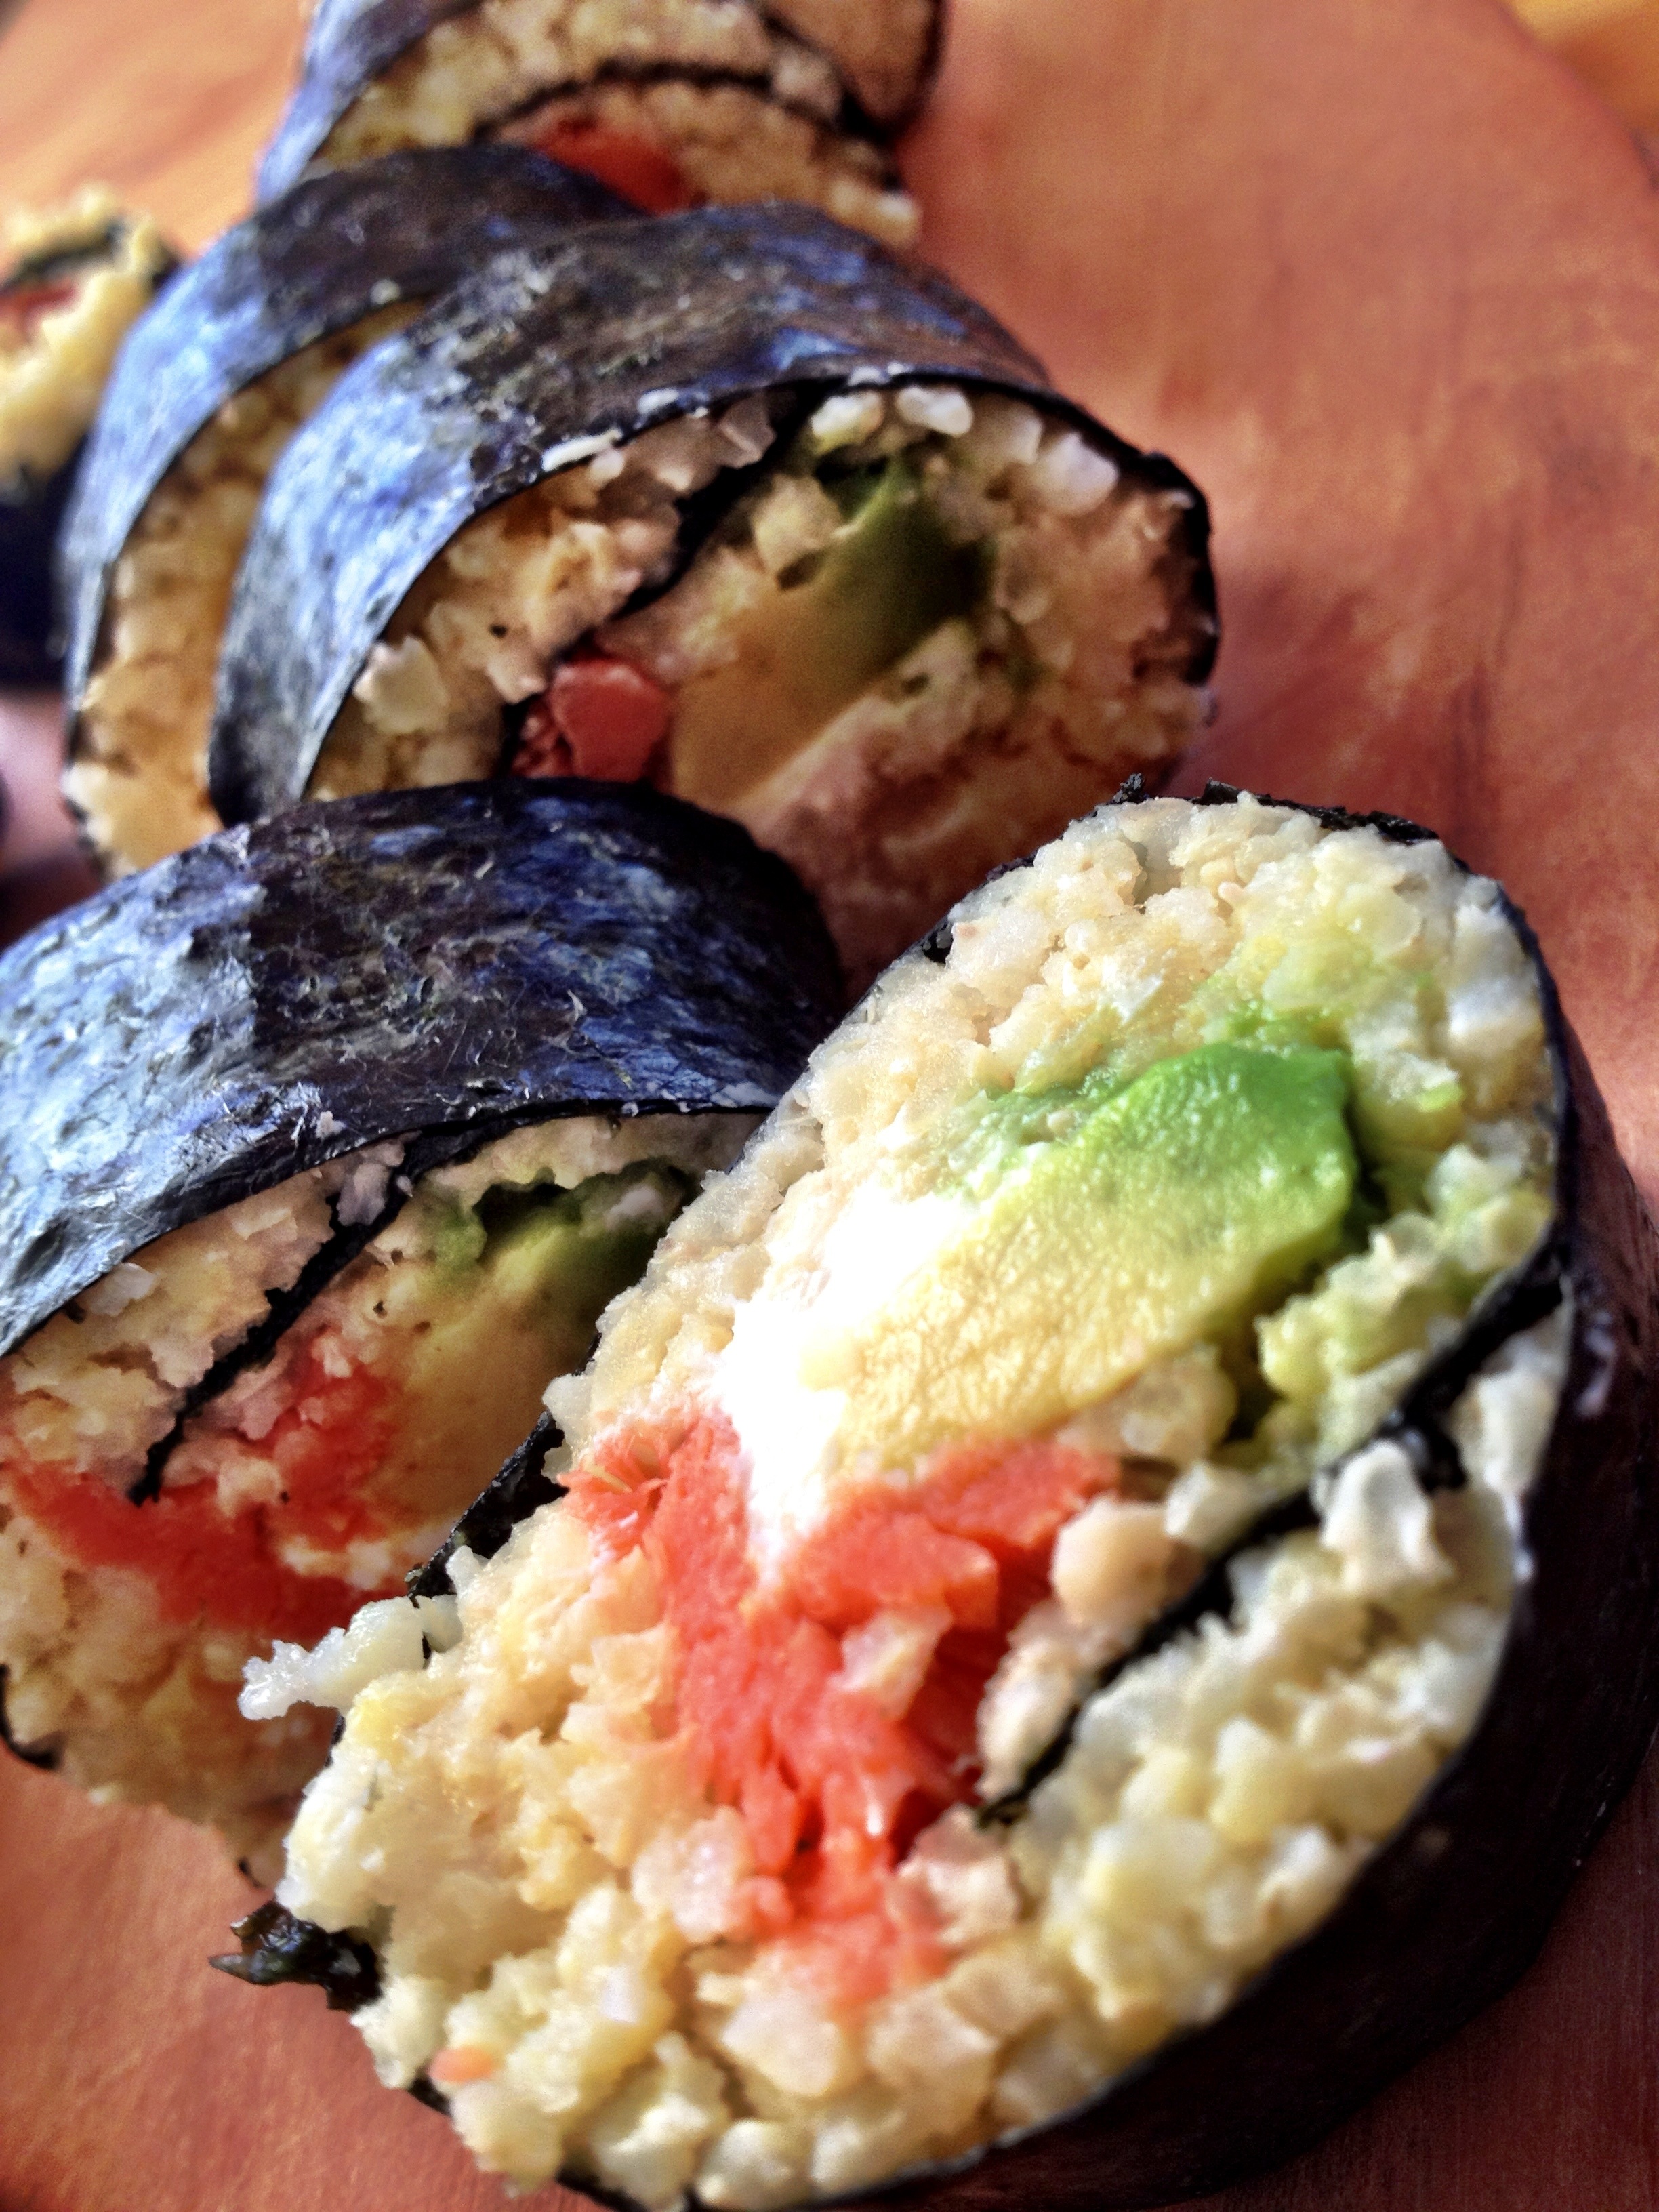

I made two veggie rolls and two smoked salmon rolls. Both were pretty mind blowing considering they came from the hands of a sushi slangin’ virgin.
What you’ll need:
Nori
Millet (or rice, or quinoa), cooked and cooled
Brown rice vinegar
Light agave
Sea salt
Tamari or soy sauce for dipping
Daikons (if you’re up for the pickled daikon)
Whatever veggies or fillings your little heart desires — chopped uniformly (I did a smoked salmon roll with neufchâtel and avocado in addition to a veggie roll with cucumber, avocado, chard, and green onions).
How to do it:
Make your rice seasoning (Tezu. This will also quick pickle your daikon, so if you’re skipping the radish, half this recipe):
4 tbsp brown rice vinegar
2 tbsp water
2 tbsp light agave (or honey)
2 tsp sea salt
Whisk together. Add half to cooled rice (or whatever your grainy stuffing of choice might be).
Pickle your radish:
Use a peeler to get perfectly thin ribbons. I did about 1/4 cup. Cover in a bowl with remaining Tezu for 20 minutes or so.
Gets ta rollin’:
Keep your hands wet! A bowl of room temp water next to your prep station is key.
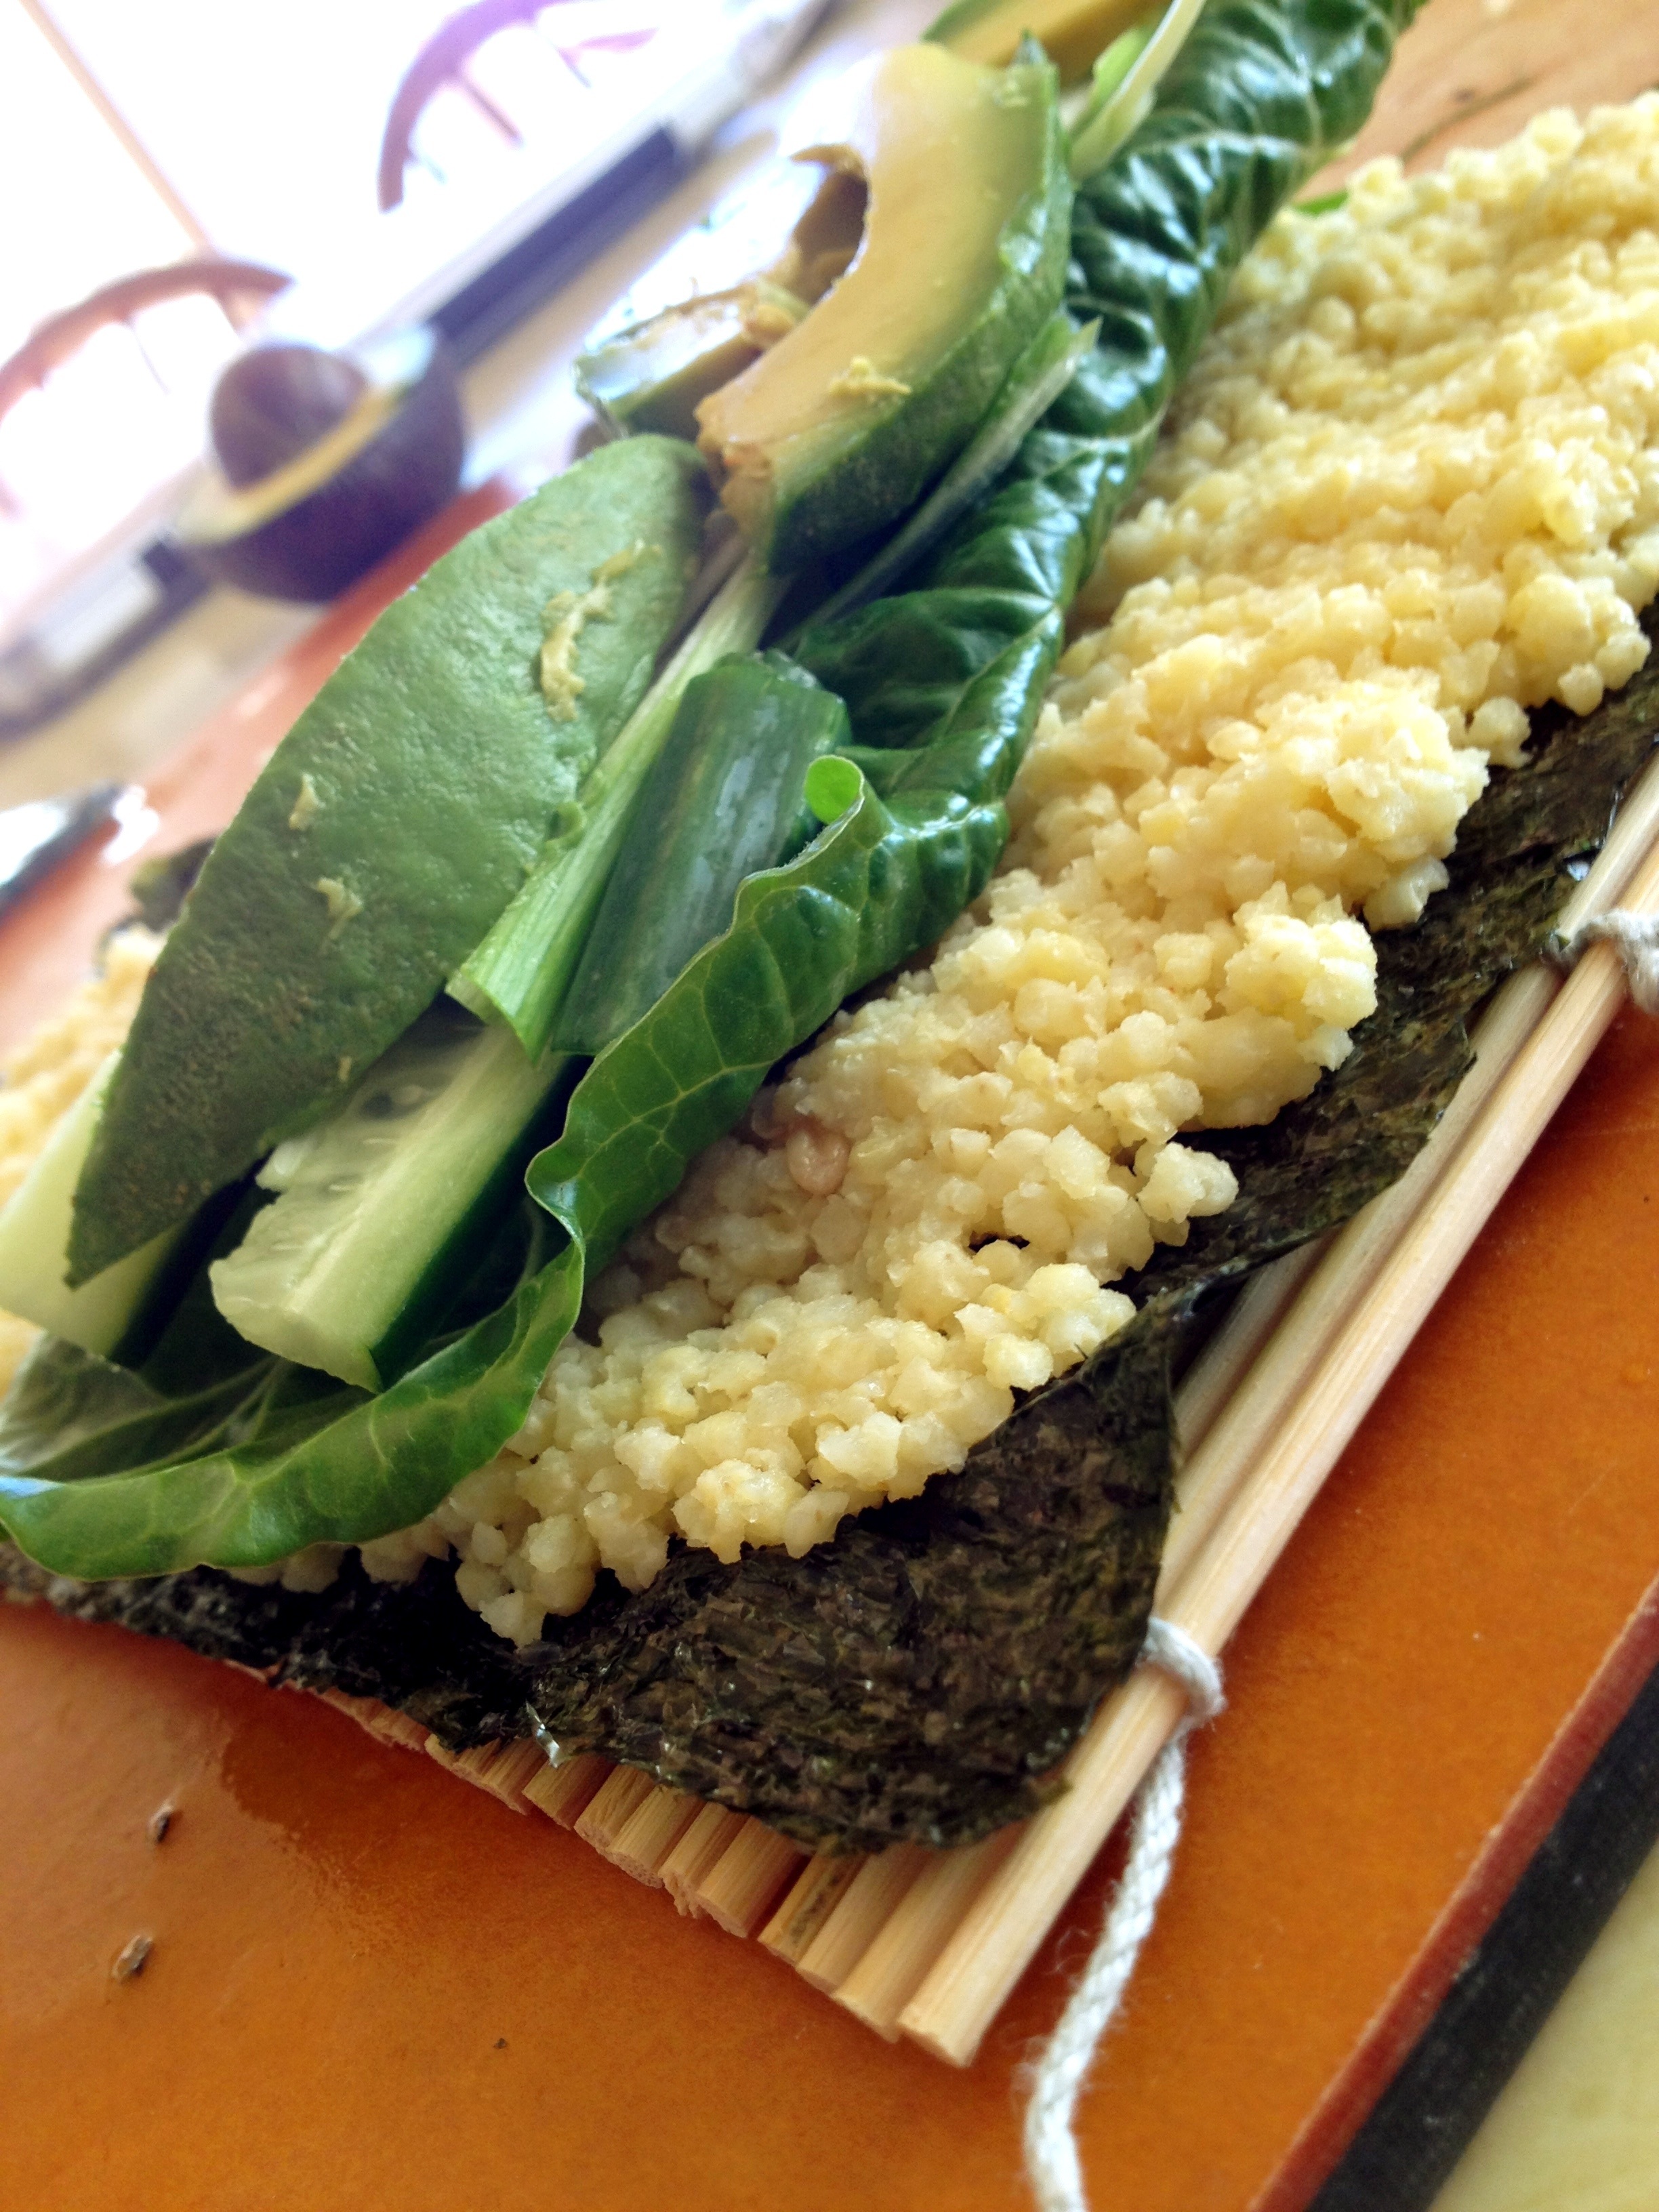
Place your nori on a rolling mat (slats horizontal) with the shiny side down.
Add a thin layer of rice. Be sure to leave an inch or so at the edge furthest away from you (this is where you’ll seal ‘er up).
Add your veggies and any other fillings in the center of the wrap. Don’t go too crazy — it’s not a burrito. Try to limit your fillings to four ingredients per roll for the sake of space and flavor integrity.
Roll that bad boy up, starting with the edge closest to you. Use your thumbs to guide the mat and the rest of your fingers to keep the stuffing in place. Press firmly as you roll to ensure a tight package (gross?).
Give it a solid seal and it’s ready to cut (despite previous warning, I was tempted to eat it like a the aforementioned burrito it is not).
From here it’s ready to slice. You’ll need an extra sharp knife or you’ll end up with a sushi bowl of mangled goodness. Wet and clean your knife after each slice to keep a crisp edge.
Serve it up with whatever sides you’re into. I dipped in tamari, topped with the pickled daikon, and currently have no regrets.
